WordPress is often considered the most convenient option for non-technical users to set up and run their websites. And that’s absolutely right. With WordPress, you can create almost any type of website without reading a single line of code.
But, what does WordPress have in store for the technical user? The WordPress command line interface is a useful tool for web administrators and experienced WordPress users to navigate the WordPress platform more efficiently.
This post will provide a complete WP-CLI tutorial for the WordPress command-line interface. Let’s get started!
- What Is WP-CLI?
- What You Can Do with WP-CLI
- How to Get WP-CLI
- How to Use WP-CLI
- The Basics of WP-CLI
What Is WP-CLI?
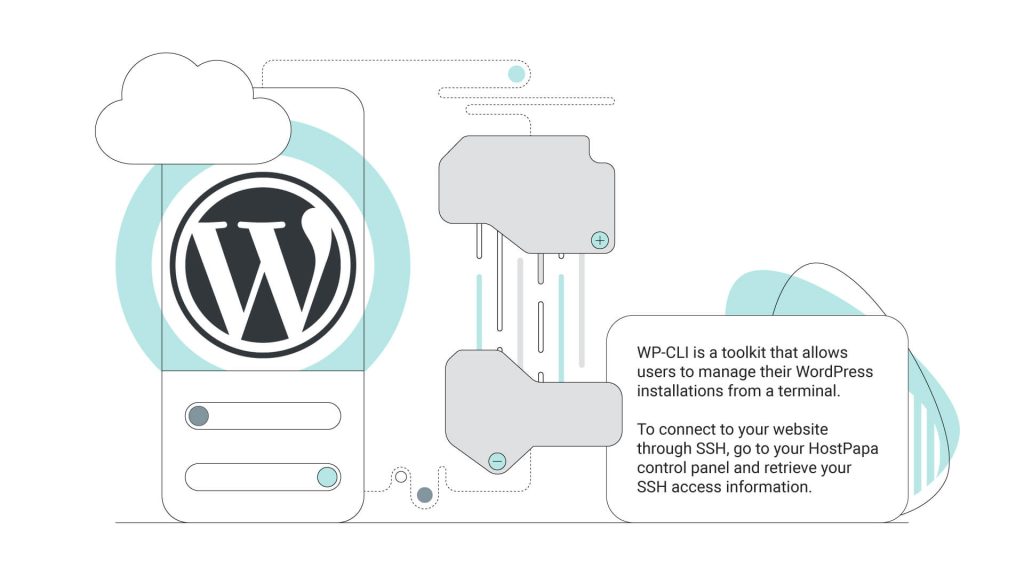
Simply put, WP-CLI is a toolkit that allows users to manage their WordPress from a command line interface. It makes it easier for web admins to manage WordPress plugins, WordPress themes, and various hard-to-reach WordPress settings. WP-CLI is an open-source project, and it’s mostly maintained by Daniel Bachhuber and Alain Schlesser. The latter joined WP-CLI in 2017.
WordPress provides an intuitive and beginner-friendly graphic interface for most administrative tasks through its dashboard, from updating your website to installing a plugin or theme. If you want to learn the basics of WordPress, check out our tutorial on mastering the CMS.
For developers used to interacting with websites through command lines, using the WP-CLI can be far more efficient than handling every minor task from the dashboard.
Additionally, with the WP-CLI, you can complete tasks that can’t be performed from the dashboard or would otherwise require a separate WordPress plugin. You can also use bash scripts to simplify your workflow further.
What You Can Do with WP-CLI
Wondering what’s in store with WP-CLI? Well, it’s not just about managing WordPress from a command line – it’s a powerhouse of tools that put you in the driver’s seat. Imagine having the ability to steer your WordPress site with precision, all from the comfort of your command line.
Here’s a glimpse of what WP-CLI brings to the table:
- Batch commands and operations: WP-CLI enables you to perform batch operations effortlessly. Whether it’s updating multiple plugins at once or exporting and importing data, you can accomplish tasks swiftly and precisely.
- Advanced configuration editing: Through WP-CLI, you can configure intricate settings that might not be easily accessible via the graphical interface. You also have the option to fine-tune your website’s behaviour and appearance.
- Database management: WP-CLI provides commands to manage your database efficiently. Import, export, or manipulate tables and data easily, helping you maintain a well-organized and smoothly functioning website.
- Theme and plugin management: Installing, activating, or deactivating themes and plugins is a breeze with WP-CLI. You can swiftly experiment with various configurations without navigating through menus.
- Customization and scripting: Developers can take advantage of WP-CLI’s scripting capabilities to automate complex tasks. Craft custom scripts to streamline your workflow and enhance your development process.
How to Get WP-CLI
At this point, you may be wondering how to get WP-CLI.
It depends. If you’re working with one of HostPapa’s Managed WordPress hosting plans, you can just SSH into your website to get started. All installations include the latest version of WP-CLI. But, if you’re working with a different type of hosting plan or are planning to use WP-CLI for a locally hosted site, you can install it by following just a few simple steps.
How to Install WP-CLI on Your Server, With Just 3 Commands
You’ll need SSH access to install WP-CLI on your website. Besides providing you with full SSH access, your hosting plan should have at least PHP 5.3.2 installed. A later version is preferred, but 5.3.2 is enough to get up and running.
If you’ve already got WordPress installed, make sure you’re working with version 3.4 or higher. Last but not least, make sure your server is running on a UNIX environment.
To get started, SSH into your server.
Next, download the latest WP-CLI build straight from the Github repository.
You can do so with the curl or wget commands:
- curl -O https://raw.githubusercontent.com/wp-cli/builds/gh-pages/phar/wp-cli.phar
- wget -O https://raw.githubusercontent.com/wp-cli/builds/gh-pages/phar/wp-cli.phar
Next, set the necessary permissions to execute wp-cli.phar:
- chmod +x wp-cli.phar
Finally, it’s recommended that you move wp-cli.phar to a /wp subdirectory. That way, you’ll be able to execute WP-CLI commands just by typing wp (instead of php wp-cli.phar).
And that’s all! To verify that you’ve properly installed WP-CLI, simply run wp –info.
How to Install WP-CLI on Windows
To install WP-CLI, your computer must be running PHP 5.3.2 or later. There are two ways to install WP-CLI. You can install it via Composer or manually.
First, go to WP-CLI’s official handbook, and download wp-cli.phar. Save it to a folder. For example, c:/wordpress/. Open your text editor of choice and paste the following content into a new file:
- @ECHO OFF
- php “c:/wordpress/wp-cli.phar” %*
Remember to replace c:/wordpress for the path you’ve chosen. Save that file within your subfolder as “wp.bat”.
You can now run WP-CLI from the command line. Check out the official documentation to learn how to install WP-CLI via Composer.
How to Install WP-CLI on OSX and Linux
To install WP-CLI locally on OSX or Linux, you’ll need PHP 5.3.2 or later. If you know how to install WP-CLI on your server, you already know how to install it on OSX and Linux. Follow the same instructions.
First, download wp-cli.phar:
- curl -O https://raw.githubusercontent.com/wp-cli/builds/gh-pages/phar/wp-cli.phar
Next, make it executable:
- chmod +x wp-cli.phar
If necessary, move it into a path using mv. For example, you could run:
- mv wp-cli.phar /usr/local/bin/wp
And that’s all! Verify the installation by running wp –info.
How to Use WP-CLI
What if your server already has WP-CLI installed, and you want to start using it? Getting started with WP-CLI is simple:
- Connect to your website through SSH.
- Check if you have WordPress installed.
- If there’s no active installation, download and install WordPress.
Connect to the Root of Your Website Over SSH
Before we begin, it’s worth clarifying something: Connecting to your website through SSH is something you do through a command line or third-party application. It’s not something you do on your browser.
To connect to your website through SSH, go to your HostPapa control panel and retrieve your SSH access information. This information should include:
- Hostname
- Username
- Password
Depending on what operating system you’re on, you have different options. If you’re on a Linux distro or MacOS, you can use any command-line client to connect to your website through SSH.
All you’ll have to do is open a new terminal window and type the following command:
- ssh [username]@[hostname]
Remember to replace [username] and [hostname] with the values you got from HostPapa. You’ll have to follow a series of intuitive steps from that point on. If you’re on Windows, you’ll have to connect through PuTTY.
For full instructions, check out our help center.
Download and Configure WordPress
Once you’ve entered your website through SSH, check out if you have an active WP installation by running wp core is-installed. If you want to install WordPress on your site’s root, simply run:
- wp core download
If you want to install WordPress on a subfolder, before running this command, create a directory for your new site, and enter it. This will require two commands. Let’s say you want to create a subdirectory named “blog” and install WordPress there. In that case, you should run:
- mkdir blog
- cd blog
After downloading WordPress, configure your WordPress installation, by running the following command:
- wp core config –dbhost=[host.db] –dbname=[prefix_db] –dbuser=[username] –dbpass=[password]
Remember to replace the values in brackets with your actual values.
If you’ve worked with WordPress before, you’re probably aware of the wp-config.php file. Before moving forward, you’ll have to change this file’s permissions. Do so by running chmod 644 wp-config.php.
Next, customize your installation:
- wp core install –url=[example.com] –title=“[Example Sire]” –admin_name=[wordpress-admin] – – admin_password=[wordpress-password] –admin_email=[johndoe@example.com]
Congratulations! You now have a functional WP installation on your website.
In the next section, we’ll share some basic commands that will help you begin managing your website through WP-CLI. We’ll also cover a use case for bash scripts, which will help you streamline your WordPress workflow.
The Basics of WP-CLI
In this section, we’ll share some tips to help you manage your WordPress site using WP-CLI.
We’ll cover:
- How to view all your WP-CLI commands
- How to log into a server and execute a WP-CLI command, with a single line of code
- An example of how bash scripts can help you further simplify your WP-CLI workflow
- How to manage multisite installations using WP-CLI
- How to install and manage plugins with WP-CLI
- How to install and manage themes with WP-CLI
How to View All WP-CLI Commands
If you’re just getting started and want to take a look at your command options on WP-CLI, type wp on your terminal.
If you want to view all options related to a certain command, type wp help [command]. For instance, if you want to visualize your options for managing your themes, you can simply type wp help theme.
Run wp core to visualize a list of commands you can use to work with WordPress.
“WordPress core” refers to the base files your WordPress site runs on. With WP core commands, you can:
- Download WordPress by running wp core download
- Check for updates using wp core check-update
- Check your current WordPress version through the wp core version
- Update WordPress to the newest version through wp core update
- Update your database by using wp core update-db
- Install WordPress through wp core install
- Check if you have an existing WP installation by running wp core is-installed
- Transforming a single-site installation into a multisite installation through wp core multisite-convert
- Install multisite WordPress, using wp core multisite-install
- Put your site in maintenance mode, with wp maintenance-mode activated
Using WP-CLI Remotely
Conventionally, using WP-CLI on your website requires:
- Logging into your SSH
- Going to the right directory
- Executing your WP-CLI command
But, did you know that you can enter through a server through SSH and execute a WP-CLI command in a single line?
According to the official documentation:
“WP-CLI accepts an –ssh=[<scheme>][<user>@]<host>[:<port>][<path>] global parameter for running a command against a remote WordPress install. This argument works similarly to how the SSH connection is parameterized in tools like scp or git.”
Using Bash Scripts
You can use bash scripts to simplify your WP-CLI workflow. For instance, let’s say you have to install WordPress across several websites and set up some basic configurations, such as deleting plugins, installing new ones, creating users, and activating a new theme.
You can easily get this done with a single bash script. And that’s exactly what Shawn Hooper did towards the end of his presentation at WordCamp Atlanta 2017. The code used by Shawn can be found as a Github Gist.
Performing Operations on a WordPress Network (Multisite Installations)
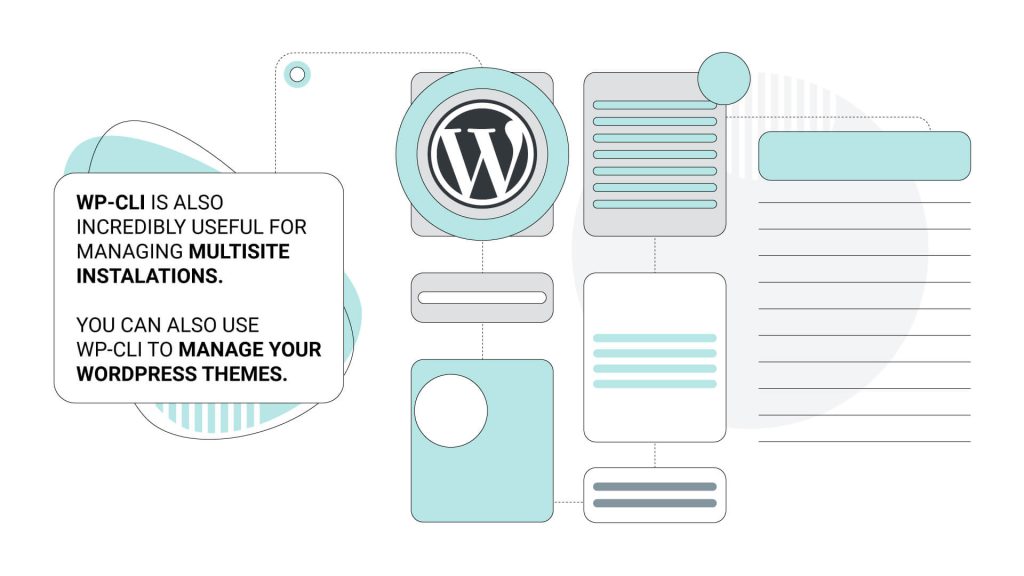
WP-CLI is also incredibly useful for managing multisite installations. WP-CLI uses a global configuration file named config.yml. You can easily set up different aliases on your config.yml, through a single command.
To add a new alias, simply type:
- wp cli alias add @client1 –set-url=”[https://example.com]” –set-ssh=[REMOTEUSER@example.com]–set-path=/home/REMOTEUSER/public_html/
Now, you can interact with this website simply by typing wp @client1 before your regular commands.
For example:
- wp @client1 wp core update
But, let’s imagine you want to update your aliases. In that case, you’d run wp @all wp core update. Use @all to target all your websites. This way, you can even install and update plugins and themes on all your websites at once.
Installing a Plugin Through WP-CLI
Installing a plugin with WP-CLI is easy. It just requires one command:
- wp plugin install [plugin]
If you want to activate the plugin, simply type:
- wp plugin activate [plugin]
To deactivate the plugin, run:
- wp plugin deactivate [plugin]
Remember to replace [plugin] with the name of your plugin’s official repository. But, what does that mean? How do these commands even work?
Easy: WP-CLI connects to WordPress’ official plugin directory and pulls your plugins directly from there. If you’ve ever downloaded a WP plugin, you know that they come in zip files with names such as woocommerce.zip. If you were to install WooCommerce via WP-CLI, you’d run the following command:
- wp plugin install woocommerce
If you need to figure out a plugin’s repository name, check out its URL on the WordPress Plugin directory.
For example, you can find a plugin named “Smash Balloon Social Photo Feed” on wordpress.org/plugins/instagram-feed/. Therefore, it’s safe to assume that the plugin’s repository is named “instagram-feed”.
Managing Themes Using WP-CLI
You can also use WP-CLI to manage your WordPress themes. In this section, we’ll look at some useful commands that will help you streamline your theme management.
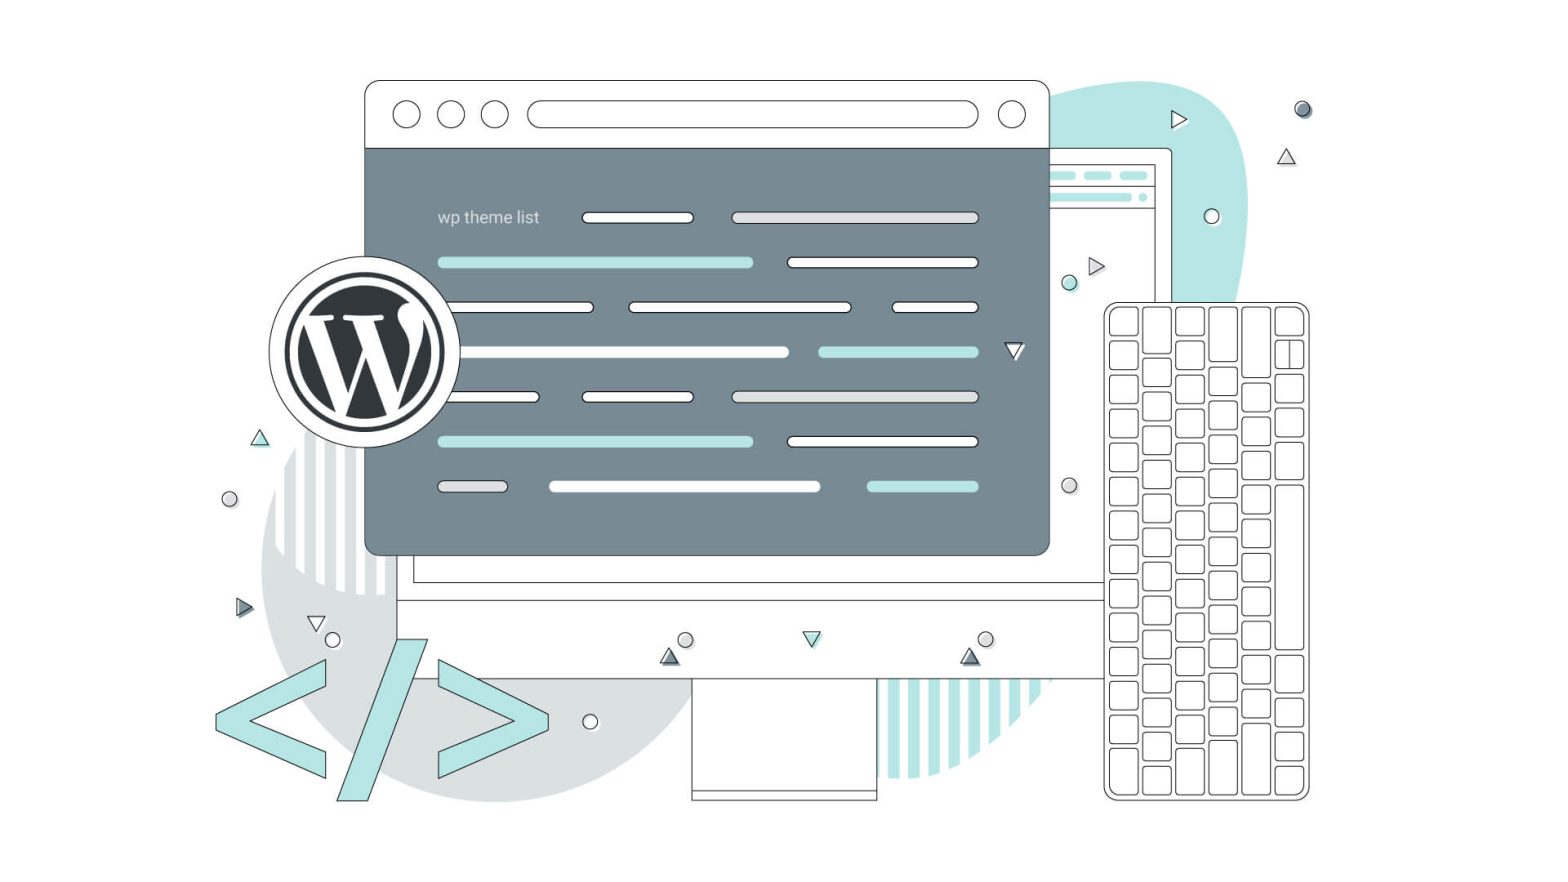
To check out your currently installed themes, simply run:
- wp theme list
If your theme is hosted in the WordPress theme directory, you can install it through WP-CLI, with just a couple of commands.
First, you’ll need to visit the theme’s listing on the WordPress theme directory. Let’s say you want to download Neve. You can find it at https://wordpress.org/themes/neve/. The portion of the URL that’s after /themes/ is the name of the theme’s repository.
In this case, the repository’s name is Neve.
To install this theme, simply run:
- wp install theme neve
If the installation is successful, you’ll see a long output on your terminal, which will end with the line “Success: Installed 1 of 1 themes”.
If you try to install a theme that’s not in the WordPress directory, you’ll see the following message:
- Error: ‘[yourtheme]’ is not a registered subcommand of ‘theme.’ See ‘wp help theme.’
Run the wp help theme to find out everything you can do with your themes using WP-CLI. You can then either look for more information on updating the theme via the official website or look for the theme’s settings inside the WordPress dashboard.
Key Takeaways
In this post, we looked into the WP-CLI, an amazing tool that helps you run your WordPress website with ease. With WP-CLI, you can:
- Install WordPress
- Manage your WordPress database
- Manage your themes and plugins
- Manually update WordPress plugins and themes
- Streamline your management workflow for multisite WordPress installs
- And much more
Are you looking for a Managed WordPress hosting provider for your next project? Check out HostPapa’s web hosting plans and enjoy all the unique hosting benefits.
Our services are favoured by numerous small businesses because we offer a flexible and dependable solution that caters to both technical and non-technical users.
For more exciting topics like this one, head over to our HostPapa Blog.