When it comes to content management systems (CMSs), Drupal is one of the best options out there. A free and open-source web content management system, Drupal is written in PHP and is home to at least 14% of the top ten thousand websites in the world.
Whether you’re running a personal blog, a government site, or a business, Drupal is a great option. However, Drupal has its limitations and is not a user-friendly program, which creates the need for growth-friendly content management systems like WordPress.
Let’s see how the two programs contrast.
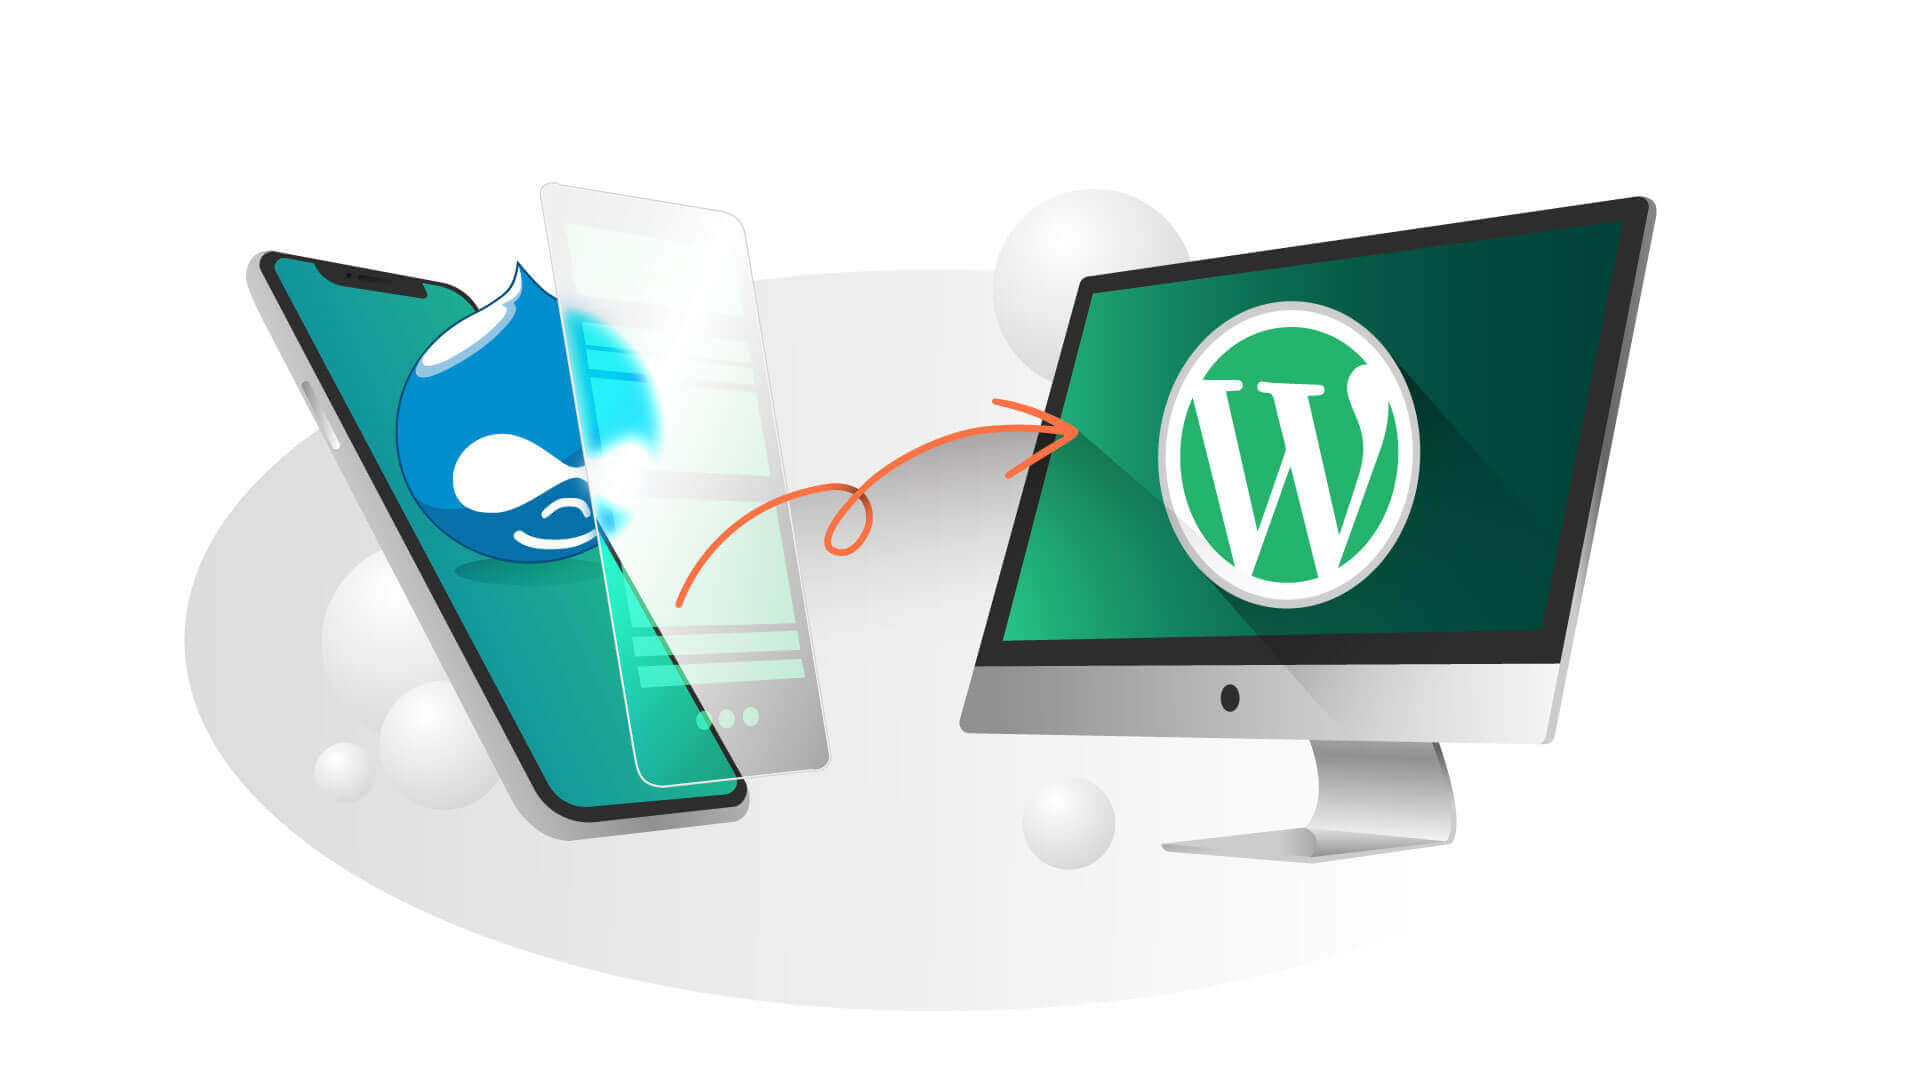
Drupal VS WordPress
If you want to create modern and stylish websites, Drupal is not easy to use. If you don’t have technical expertise, you should consider switching to a more user-friendly platform, such as WordPress.
WordPress offers more or less the same features as Drupal, except it’s much more manageable, and comes with a massive community to quickly get help or make modifications.
Therefore, it would be an efficient choice to migrate your website from Drupal to WordPress. In this step-by-step guide, we’ll discuss the following:
- Why You Should Consider Moving From Drupal to WordPress
- Things to Consider Before Migrating From Drupal to WordPress
- How to Migrate From Drupal to WordPress
- Fully Managed WordPress Hosting
Let’s get to it.
Why You Should Consider Moving From Drupal to WordPress
While Drupal is one of the most powerful CMSs with easily scalable installations and a vast community of users, developers, and helpful enthusiasts, it’s not beginner-friendly.
Users have to learn a lot to master it, and updating its software can be a tiring task. If you’re a seasonal developer or enthusiast, you can work around these obstacles. However, if you plan to conduct business on this platform with a well-established website, you’ll have to face these issues regularly, which can add stress to your day.
WordPress can do everything that Drupal development services do, but it makes things a lot easier. It’s straightforward to get started with WordPress, whereas Drupal requires you to have complete knowledge before you sign up.
We always recommend you plan your website on WordPress instead of Drupal if you’re not an expert. If you already have a website on Drupal and are facing such issues, you can easily migrate it to WordPress.
Migrating a website from Drupal to WordPress is a very simple process. However, there are some things you need to consider first.
Things to Consider Before Migrating From Drupal to WordPress
Although migrating your website from one CMS to the other is not a hectic process, it requires some preparation, so you need to consider the following things before you begin.
- Set Up a New Website or Get a New Web Host
A lot of web hosts allow you to choose between different CMSs, including WordPress and Drupal, when you are setting up a new website.
You can set up a new website on WordPress if your host provides multiple websites in one hosting plan. Doing so will make it easy for you to migrate your Drupal site to WordPress without involving a new hosting provider or getting a new plan. But that approach will only work if you’re satisfied with your current hosting provider and your hosting plan allows multiple websites.
If your current host doesn’t provide multiple sites in a single plan, you need to either upgrade your plan or get a new host. Almost all hosting providers will help you create a website on WordPress, and HostPapa is one of them.
- Back Up Your Drupal Data
Whenever you’re making a significant change to your website, you must make a backup of your website, so if the process doesn’t go as intended, you have all the data safely backed up. In this case, you are migrating your site, which calls for backing up your site’s data.
Backing up your Drupal website is a process that requires attention to detail. Drupal doesn’t have any built-in backup options (another one of its drawbacks), so you’ll be doing this manually.
You’ll need to make copies of two things: your site’s database and Drupal root directory. Drupal recommends two modules to backup the database: Backup and Migrate and Backup Database.
You can select one module to backup the database. After that, you’ll have to make a copy of the entire Drupal root directory.
You need to connect your site to Secure File Transfer Protocol (SFTP) and download a copy of the root folder on your PC.
We advise you to save both the database and the Drupal root directory files in the same folder, so you can have your website in a single folder, which will come in handy if things go wrong.
Now that you’ve made the required considerations let’s get to migrating your website from Drupal to WordPress.
How to Migrate From Drupal to WordPress
Now that your site is backed up and you’ve chosen the web host, let’s begin the step-by-step guide of migrating your site to Drupal and WordPress, starting from the installation of the WordPress.
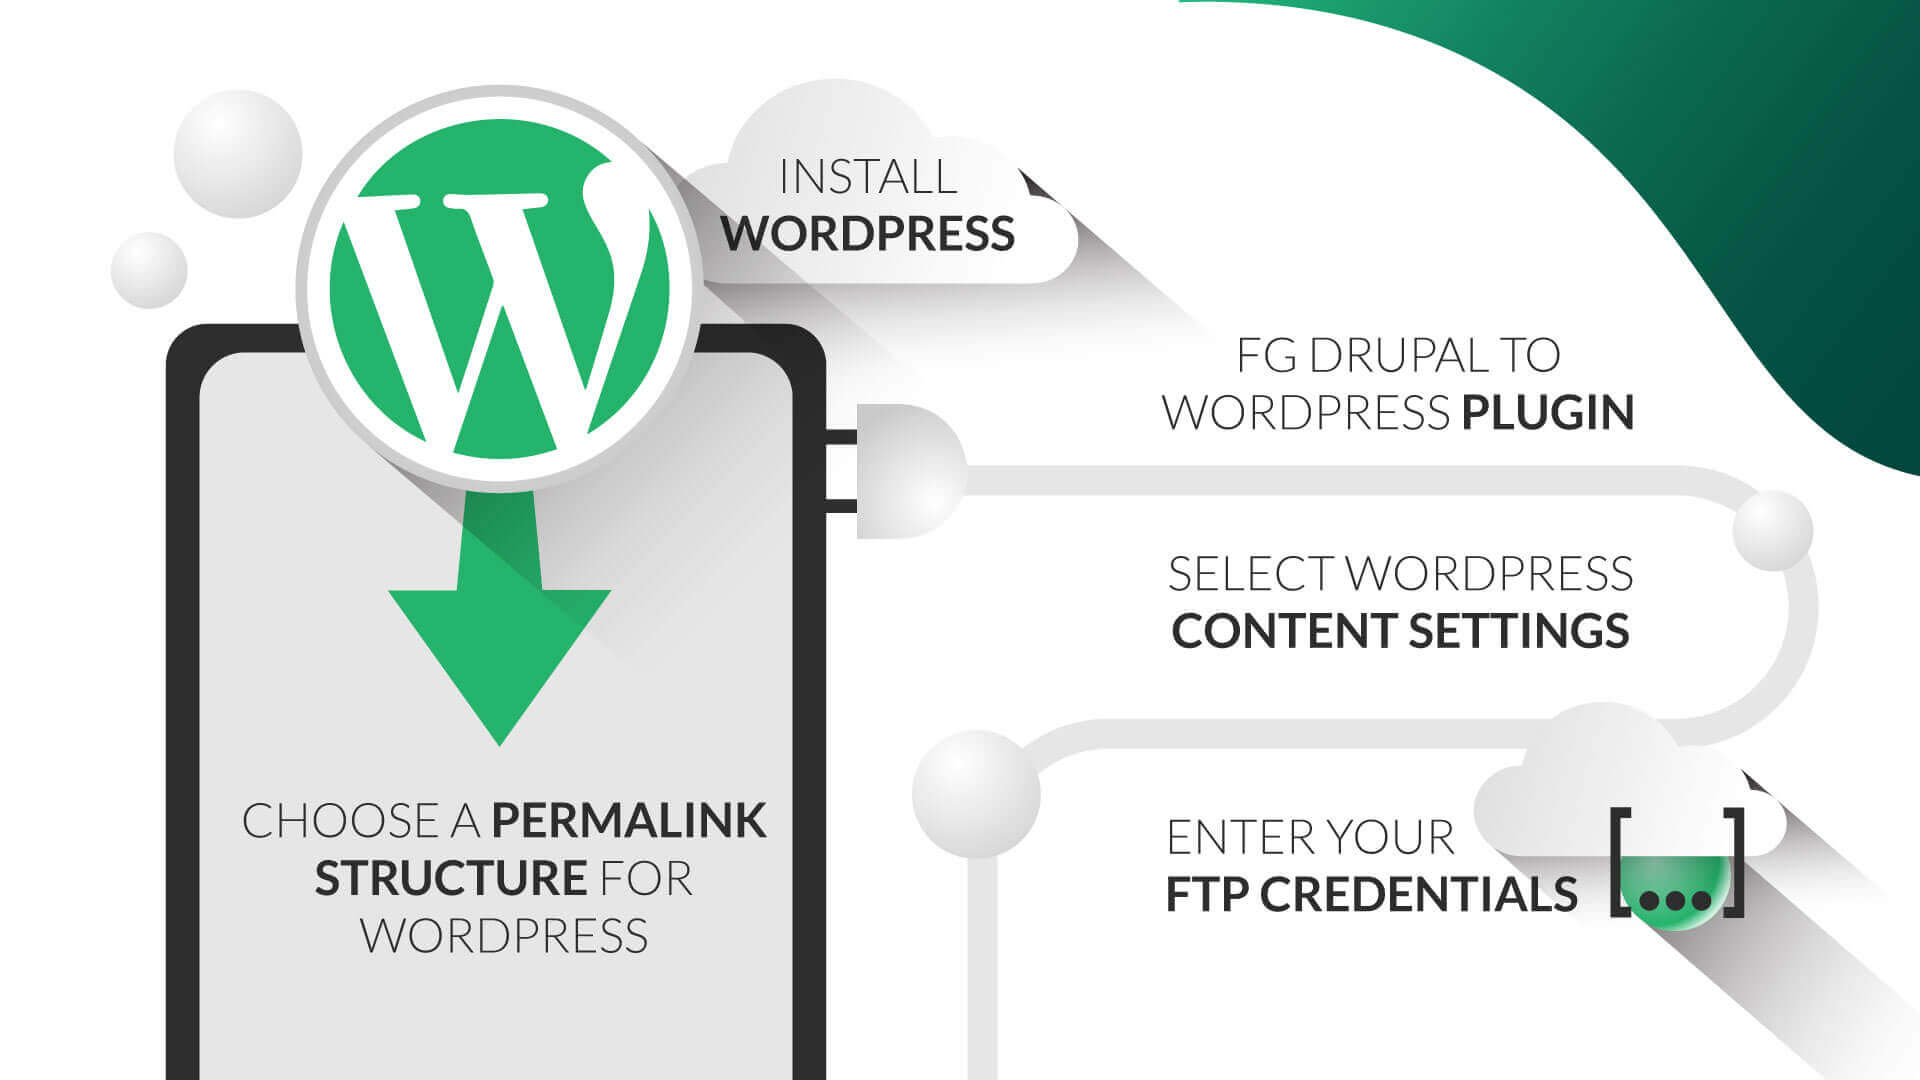
Step 1: Install WordPress
Depending on your web hosting provider, there are several ways to install WordPress. Reputable web hosts automatically give you a chance to download WordPress when you’re creating a new website.
On the other hand, you can also download WordPress manually by visiting WordPress.org. Download the files from this link and upload them to your web host to run the WordPress installer, and it will walk you through the process.
When your WordPress installation is ready, you’ll get access to the dashboard – where you’ll spend most of your time.
We will use plugins from WordPress to migrate your website from Drupal to this platform. However, before we do that, it’s better that you adjust your permalink structure.
Step 2: Choose a Permalink Structure for WordPress
Drupal gives you the freedom to control how your website URL looks, and so does WordPress. Instead of going with the default URL for your website that looks like this:
yourwebsite.com/?=123
You can go for something specific, such as:
yourwebsite.com/productcategory/productname
Once you migrate, your URLs will lose their structure, so, you’ll have to choose the permalink structure on WordPress to create new URLs for your newly migrated web content.
To do that, go to Settings > Permalinks and get a new URL structure. We advise you to get a post name URL structure that enables you to set custom permalinks for every page and post that your website publishes.
Step 3: Get the FG Drupal to WordPress Plugin
There are a lot of plugins on WordPress, but the one you need right now is FG Drupal to WordPress Plugin. We’ll do it through a plugin instead of manual exporting, which is the traditional method of migrating a website because it’s easier and quicker.
This plugin will connect your WordPress to Drupal and migrate your Drupal website’s content, including posts, pages, tags, images, metadata, and product categories. All of this is possible with a free version of the plugin. However, you can also migrate all comments, user accounts–administrators, and authors–navigation menus with the premium version.
We suggest you go for the free version because it does everything you need. Whatever you decide, it’s time to install a plugin. For this article, we’ll be using the free version.
To do that, go to Plugins > Add New and search for the plugin in question. Click on Install Now and give it a minute or two to install it. Look for an option to activate the plugin. Once activated, you will be set to migrate your website from Drupal to WordPress.
Step 4: Select WordPress Content Settings
To begin the process, go to Tools > Import.
Next, click on Run Importer under Drupal.
The importer page includes a wide range of setting options you need to configure before launch, such as whether or not the importer should remove the existing WordPress content. In this case, you don’t have any content to remove before migration. However, you should select the Remove All WordPress Content option to eliminate all the test pages you have on your website.
Step 5: Enter Your FTP Credentials
In this step, WordPress will ask for your Drupal website’s URL. You’ll need to select how the plugin will download media files from one platform to another. The default format is HTTP, but we recommend the FTP option if you have a large website with a lot of content.
Enter the FTP credentials that you have for your Drupal site. If you’re not familiar with these credentials, you should be able to access them through your website’s host’s control panel. However, don’t use the same credentials for your WordPress site.
Once the credentials are entered, select the button that reads “Test the FTP connection.” If the credentials are correct, the test will be successful.
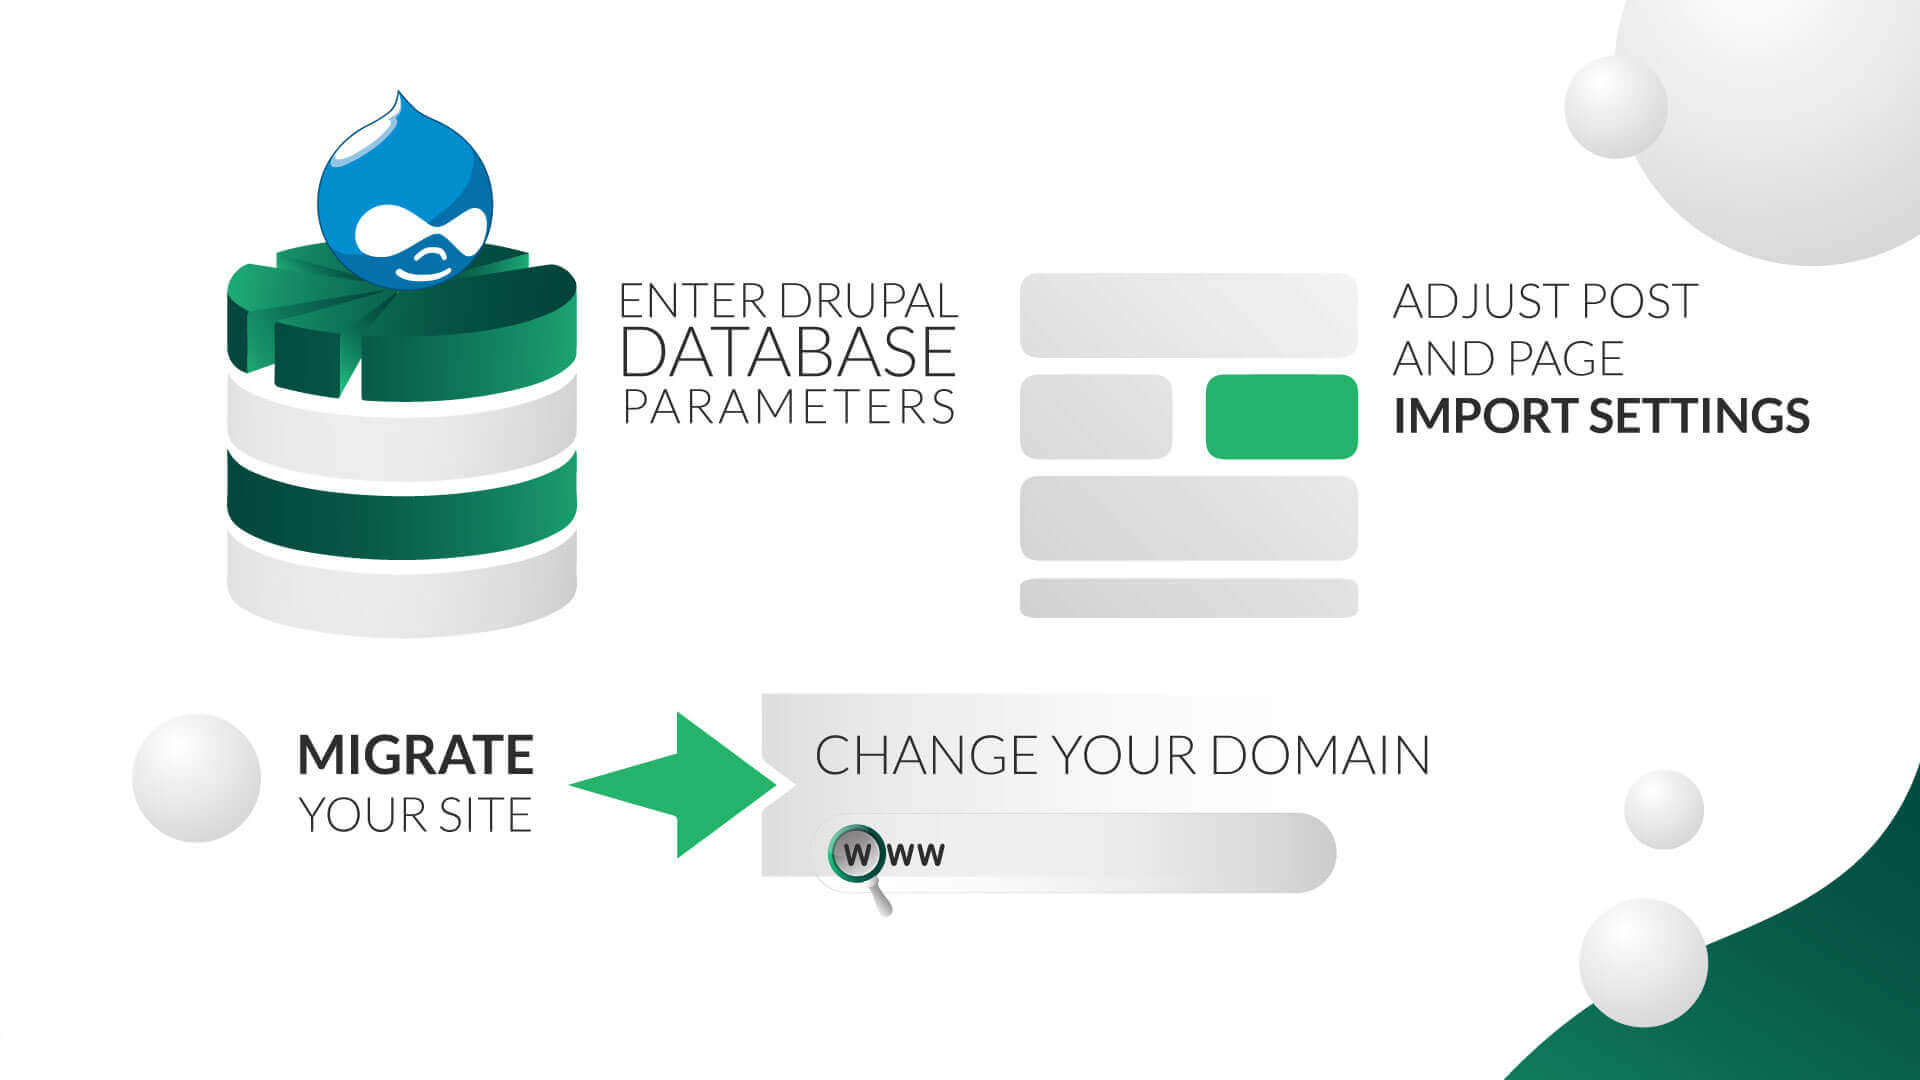
Step 6: Enter Drupal Database Parameters
In this step, you need to specify the kind of database your drupal site uses, such as MySQL, SQLite, or PostgreSQL. Moreover, you’ll need to specify the database’s name, hostname, port, and more user details.
If you don’t remember these details, you can find them on your Drupal site’s “settings.php file” with some digging skills. Connect to your Drupal site using FTP or to your web host’s file manager and navigate to drupal/sites/default/settings.php and use a text editor to open the file. Be careful not to change “settings.php” because any adjustments might break your site.
Make sure to only locate and copy the information from the file that the plugin requests. Enter database parameters and test the database connection to ensure that the settings are correct. Once done, a success message should appear.
Step 7: Adjust Post and Page Import Settings
This is the last setting you need to configure. First, choose whether the plugin will add post and page summaries to WordPress content or import them as excerpts. We recommend the excerpt option to save you from adding excerpts in WordPress manually.
Second, you need to point to WordPress, where it’s supposed to import the media files. If you stick by the default option, which we thoroughly recommend, it will use the standard WordPress media directories to store imported files.
Third, you also can choose the image to be featured for your post and pages.
The rest of the settings revolve around stopping the program from generating thumbnails or adding featured images to the body of your imported content. We advise you to leave those options disabled.
The plugin will abort the import procedure for a media file that takes more than 20 seconds to load. This is by default, and it prevents migration from being stuck. Don’t worry if a media file gets rejected.
Step 8: Migrate Your Site
Now that you’ve configured everything, click on the Start/Resume button and begin the migration process. The progress bar will be shown.
Once the process is done, you will see the final image of success. Don’t leave this page yet. Scroll down and modify the internal links. That will update your internal links of the previous website to those of the new WordPress permalink structure.
Make sure that you modify these links after the migration if you have already adjusted the permalink structure. Otherwise, the URLs won’t work.
Step 9: Change Your Domain to Point Towards WordPress
At this point, all of Drupal’s content is on WordPress. However, the procedure isn’t done yet. Apart from your fully working WordPress website, your domain is still pointing in the wrong direction. If your visitors try to access your website, they will still go to the Drupal site.
Registering a new domain is not a good idea at this stage. What you want to do is point the existing one towards WordPress. That process depends on whether you opted for a domain registrar to get the domain or you got it from the hosting provider.
If you’ve used a registrar to get your domain, you’ll have to access your registration account on the domain registrar platform and update your DNS settings, sending your visitors directly to your new website. If you’re not sure about these settings, you can check the information from your domain registrar’s documentation.
Alternatively, if your domain is registered through a host, you can use your hosting panel to point your domain towards WordPress. For instance, HostPapa always leaves this option to its users.
Step 10: Design Your New Website
You have all of your Drupal content on WordPress now, but your website still looks different. That’s because you are probably using the WordPress default theme. You should customize the theme to match the one you had on Drupal or use the templates to create something new. Both options are suitable for growth and expansion.
There are thousands of free and paid themes you can use to give your website a new, fresh look. Once you pinpoint a theme you want to use, you can use the Block Editor to customize the style of pages and posts. WordPress’s Block Editor is miles ahead of Drupal’s editor, so you’re safe here.
Fully Managed WordPress Hosting
We understand that the migration process can be hectic. Many people struggle because they’re not familiar with the technical terms, like “settings.php” or “plugin configuration.”
However, website migration is needed if you want your website to expand and grow, and you won’t find a better option than WordPress.
Instead of bearing this headache yourself, consider opting for HostPapa’s fully managed WordPress hosting. We’ll take care of everything for you, including themes, plugins, updates, content rankings, proper delivery, and technical responsibilities. You can focus on something that only you can do: think of new ways to expand your dream website.
Key Takeaways
Although Drupal is a fantastic CMS, it can’t beat WordPress when it comes to ease of use.
With everything that Drupal has, WordPress makes your use much more manageable and turns your dream website into reality. With unlimited customization and content flexibility opportunities, you can design a website that can attract loyal traffic.